FreePBX supports WebRTC out of the box. This guide walks you through enabling the secure websocket, configuring extensions and handling NAT so that WebRTC Client can register from the browser.
Requirements
| Component | Minimum version |
|---|---|
| Asterisk | 11.5 |
| Certificate Manager | 12.0.0alpha1 |
| Core | 12.0.1beta9 |
| User Control Panel | 12.0.0beta7 |
| FreePBX | 12.0.1beta34 (tested on v15 and later) |
Step 1 — Install a certificate for your domain
Use a certificate for your domain — not self-signed.
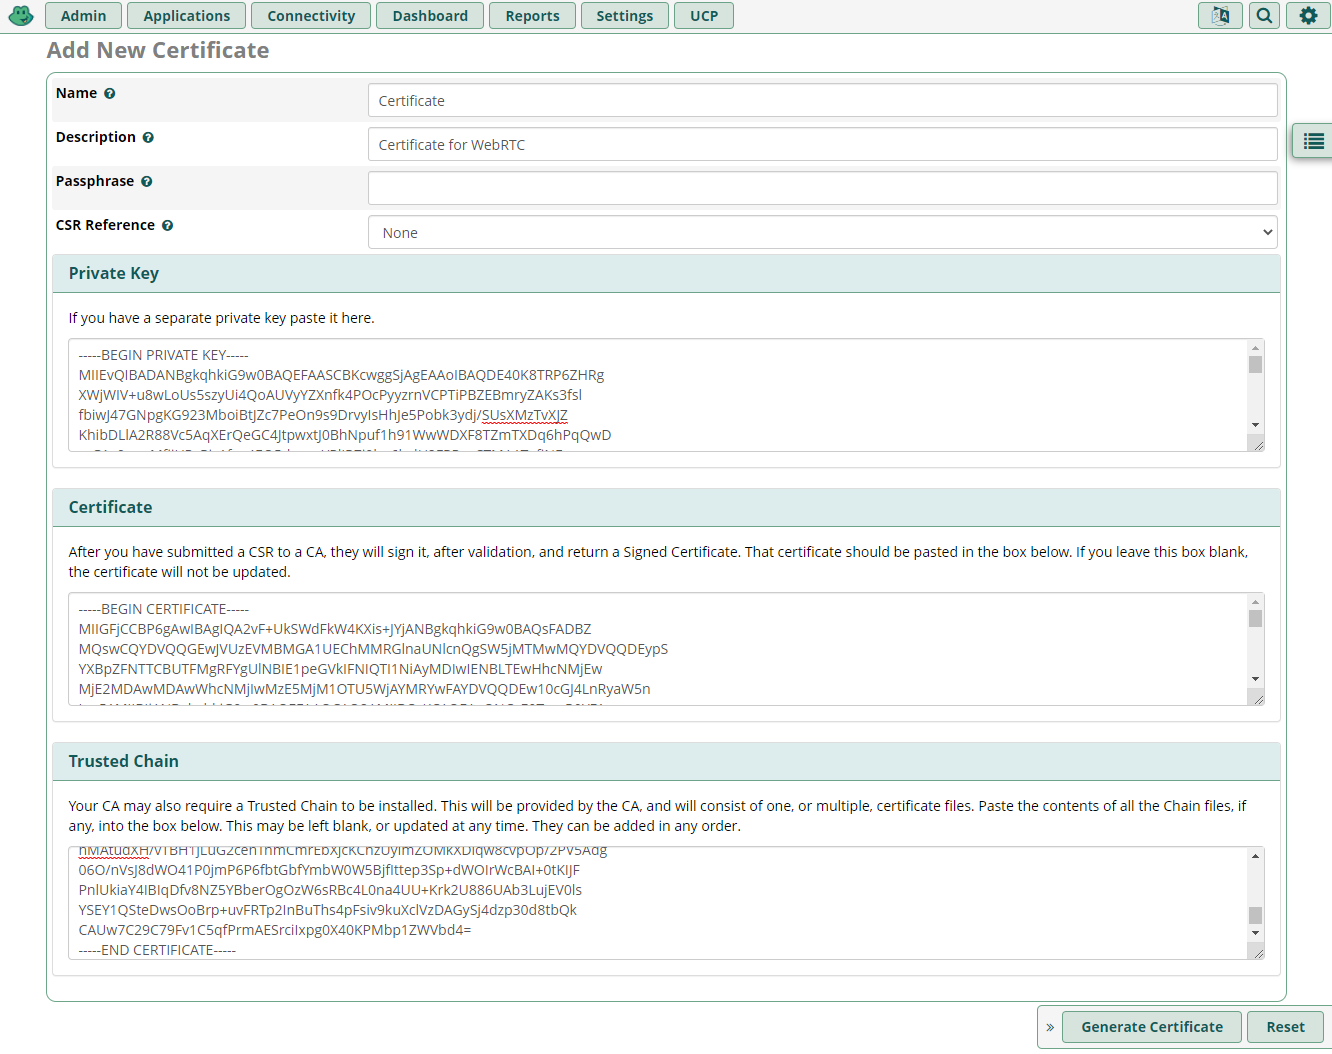
- In the top menu, click Admin.
- Choose Certificate Manager.
- No certificate yet? Generate a Certificate Signing Request (CSR) and apply for a certificate, or use the built-in Let's Encrypt option.
- Already have one? Upload the certificate and click Generate Certificate.
- Optionally set the certificate as the default.
Step 2 — Restart Asterisk and check the websocket
Go to Admin → Asterisk CLI and run:
core restart nowThen check that the websocket is listening:
http show status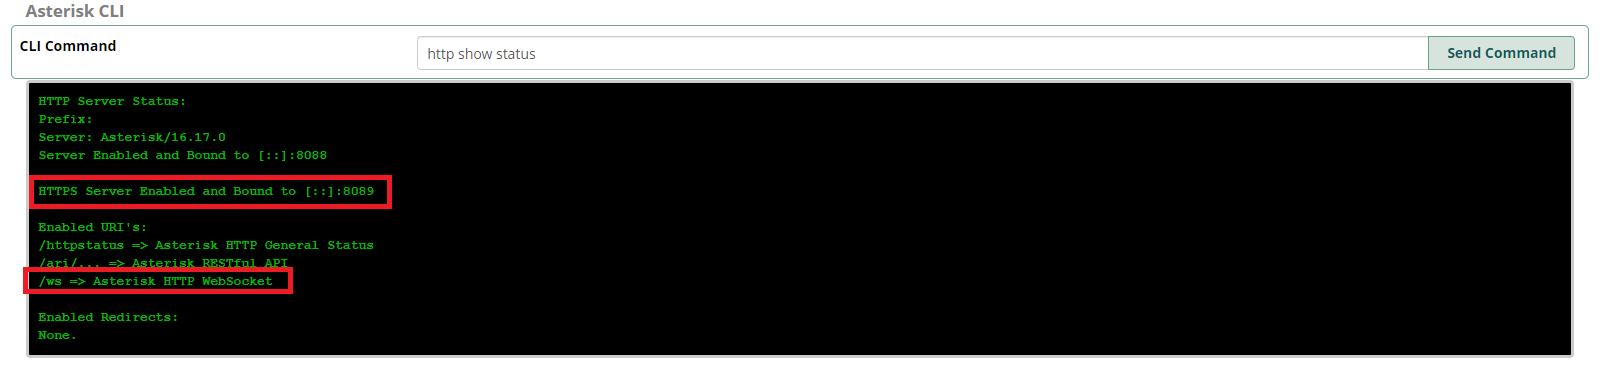
Step 3 — Enable WebRTC on an extension
- Click Admin → Extensions (in newer versions: Applications → Extensions).
- Create or edit an extension.
- On the Advanced tab, set:
- Enable AVPF = Yes
- Enable ICE Support = Yes
- Enable rtcp Mux = Yes
- Media Encryption = DTLS-SRTP
- Save the extension and click Apply Config.
Step 4 — Add the websocket server to the management portal
Enter your domain, port 8089 and path /ws in the management portal — see Configure server settings.
Step 5 — Firewall and port forwarding behind NAT
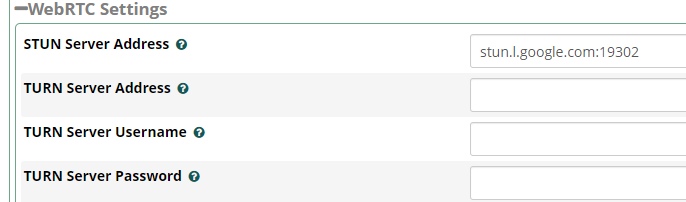
If the PBX runs behind NAT, set up port forwarding and allow inbound traffic to the internal server. WebRTC media uses UDP ports (the RTP range, by default 10000–20000). You also need a STUN server to make two-way audio possible.
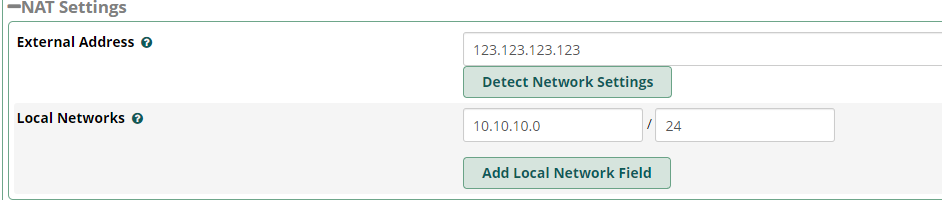
Example: FreePBX behind NAT on public IP 123.123.123.123 and private IP 10.10.10.231.
- Forward TCP port
8089(and the RTP range) to10.10.10.231on your router. - Adjust the NAT settings under Settings → Asterisk SIP Settings:
- Add a STUN server under Settings → Asterisk SIP Settings:
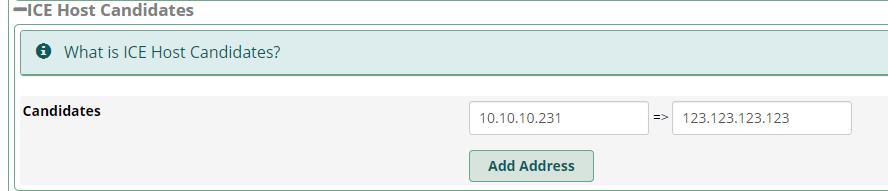
- Set up the ICE host candidate, mapping the private to the public address:
10.10.10.231 => 123.123.123.123
Internal domain name
When users also work on the same network (behind the same WAN IP) as the PBX, create an internal DNS record pointing to the server so the traffic stays local — for example webrtc.company.xyz A 10.10.10.231. You can also use a DNS rewrite in Pi-hole or AdGuard. See internal PBX with remote clients.