
Before you start, first follow the Asterisk guide to set up the websocket on the MirtaPBX server. Then continue below.
Configure the extensions
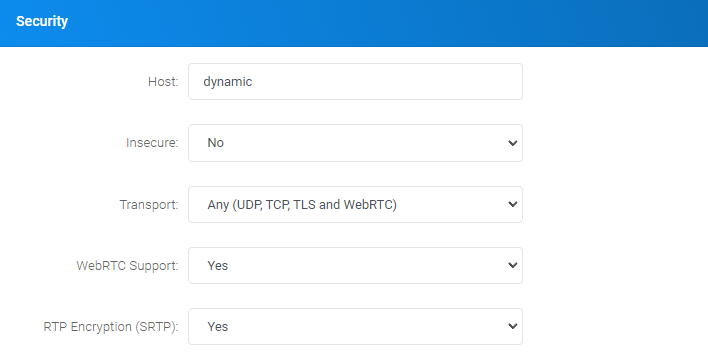
For each extension, set the following in the Security section:
- WebRTC Support: Yes
- RTP Encryption (SRTP): Yes
Users can now log in to WebRTC Client.
Optional: login via the MirtaPBX API
WebRTC Client can also talk to the MirtaPBX API. This saves time and removes the need to share or store SIP credentials in the WebRTC Client platform. When a user logs in, the GETWEBRTCAUTH API request retrieves the SIP username and password, and WebRTC Client uses them to set up the websocket connection to the PBX.
In MirtaPBX
- Create an extension and enable WebRTC support and SRTP (see above).
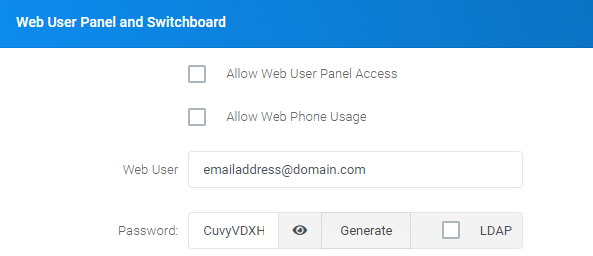
- Enter a Web User (an e-mail address) and password. These become the user's login credentials for WebRTC Client.
In the WebRTC Client management portal
- Open the customer and go to the PBX server settings.
- Select Authenticate users using the API.
- Enter the MirtaPBX API details (API URL and credentials) and save.
The newly created user can now log in to WebRTC Client with the MirtaPBX web-user credentials.